How to make palazzo pants:-
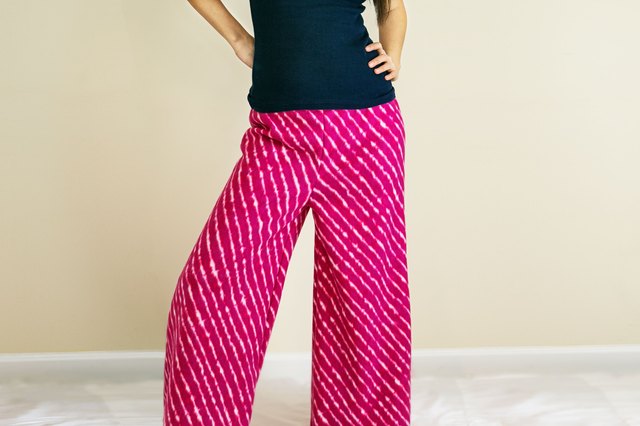
Palazzo pants, also known as wide-leg or gaucho pants, flare directly from the hip, and are mainly worn by women. They were made popular in the '70s, but are still worn today, mainly as formal and semi-formal wear and are best made out of silky or soft fabric, including rayon, tulle, jersey, stretch fabrics and others. It is not difficult for anyone with some sewing knowledge to create her own pattern and make her own palazzo pants. Alternatively, most large clothing pattern manufacturers offer patterns for palazzo pants, which are available where fabrics are sold, and come with detailed instructions.
Step 1
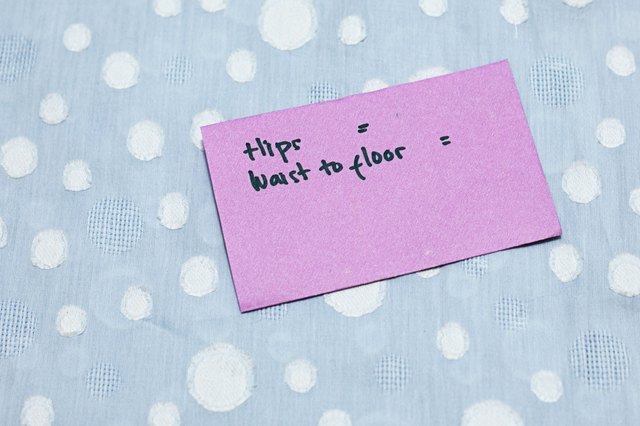
Write down the measurements around your hips, waist to floor, and crotch to floor. Lay the newspaper out flat, joining it if necessary so that it will fit both the front and back pattern pieces alongside one another.
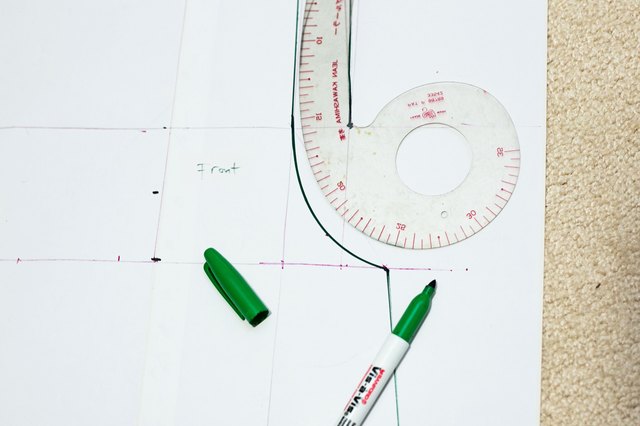
Draw the pattern onto the newspaper as follows: Make a mark 2 inches below the top left corner of the paper and 1 inch to the right. Moving directly to the right, measure 1/3 of your hip measurement and mark it. Measure another 1/12th of your hip to the right and mark it. At each mark, draw a line directly down the paper, all the way to the bottom. From the first mark near the left top corner of the paper, measure the length of your waist-to-floor measurement and make a mark at the bottom. Draw a horizontal line across to the right to the 1/12th line. Measure up the 1/12th line the length of the crotch to floor measurement minus 1 inch. Make a mark. Draw a "J" shaped curve from this mark up to the 1/3 mark. You now have the front pattern piece.
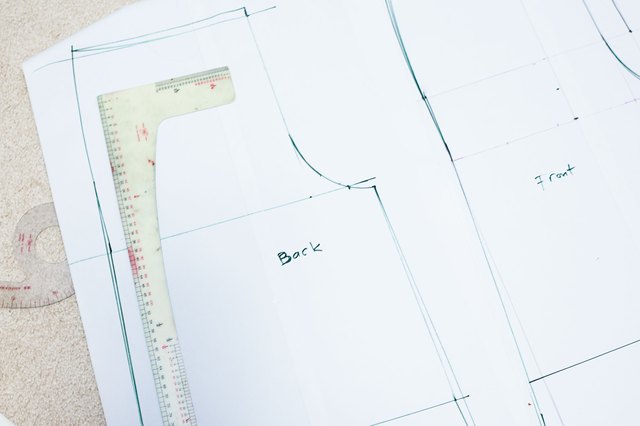
Create the back pattern piece alongside and to the right of the front pattern using the same method. Extend the top horizontal line all the way across the paper. Start at the 1/12th mark and move 3 inches along the line and make a mark. Measure 1/8th of your hip measurement and make a mark, then measure 1/3 of the hip measurement and make a mark. Draw vertical lines from each to the bottom of the page and measure the length of your waist to floor and make a mark on the 1/3 line. Follow the same procedure as you did for the front pattern by marking the bottom of the pant legs on the 1/8th line and marking your crotch to floor measurement, then cutting a "J" shaped curve to the top.
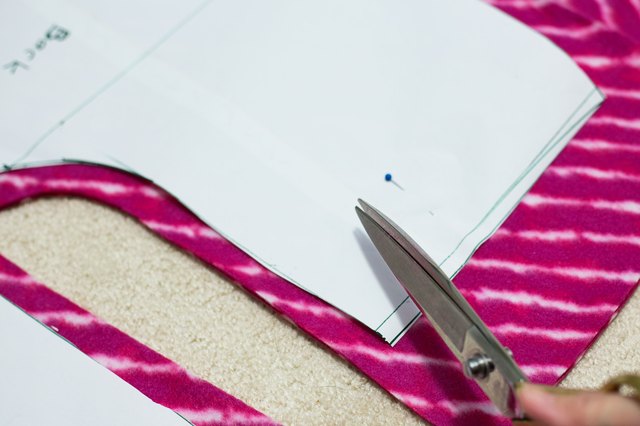
Fold the fabric in half. Cut out the pattern pieces and pin them onto the fabric. Cut around them, adding a seam allowance of 1/2 inch on the sides, plus 1 1/2 inches at the pant leg bottoms to allow for a hem, and 2 inches at the top for the elastic casing. Remove the newspaper pattern, fold it, and store it for future use. You will now have two front pieces and two back pieces.
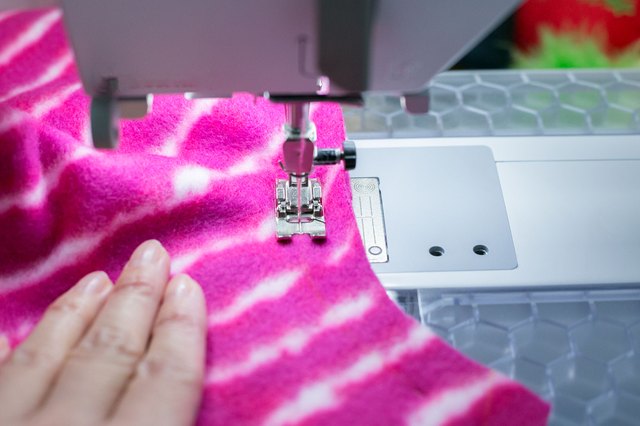
Pin the front pieces together at the "J" and stitch, with the right sides of the fabric together. Repeat with the back pieces. Starting at the crotch, join the inside seams. Sew the side seams together. At this point you can fit the pants and adjust the side seams if they are too baggy by making larger seams, and measure the hem length. Hem the legs. Fold the top over twice and stitch to make a casing. Thread the elastic through the casing and measure to fit your waist, then stitch the ends together. Iron and wear.
ReplyDeleteThanks for sharing this great post. I really like the post. you can visit ladies kurtis online shopping store to procure assortments for your retail's inventory.