How to Stitch a Long Frock


How to Stitch a Long Frock: An Introduction
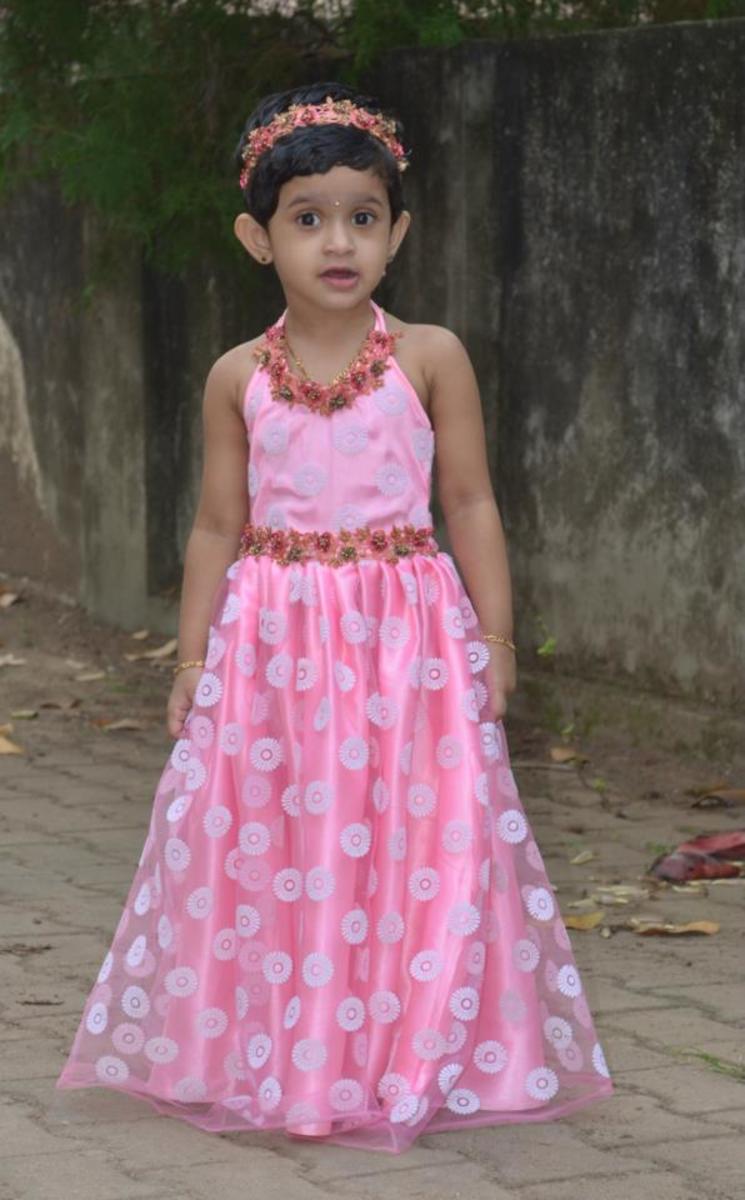
In this Hub, I'll explain how I stitched a long frock for my daughter Anna. This frock has many flairs, and is also very easy to make.
I often create new patterns of frocks for Anna. I'll start by researching on the Internet, start with a pattern in mind, but then will often end up with something completely different. This one turned out beautifully -- impressing friends and family members. I'll now share with you below in this article.
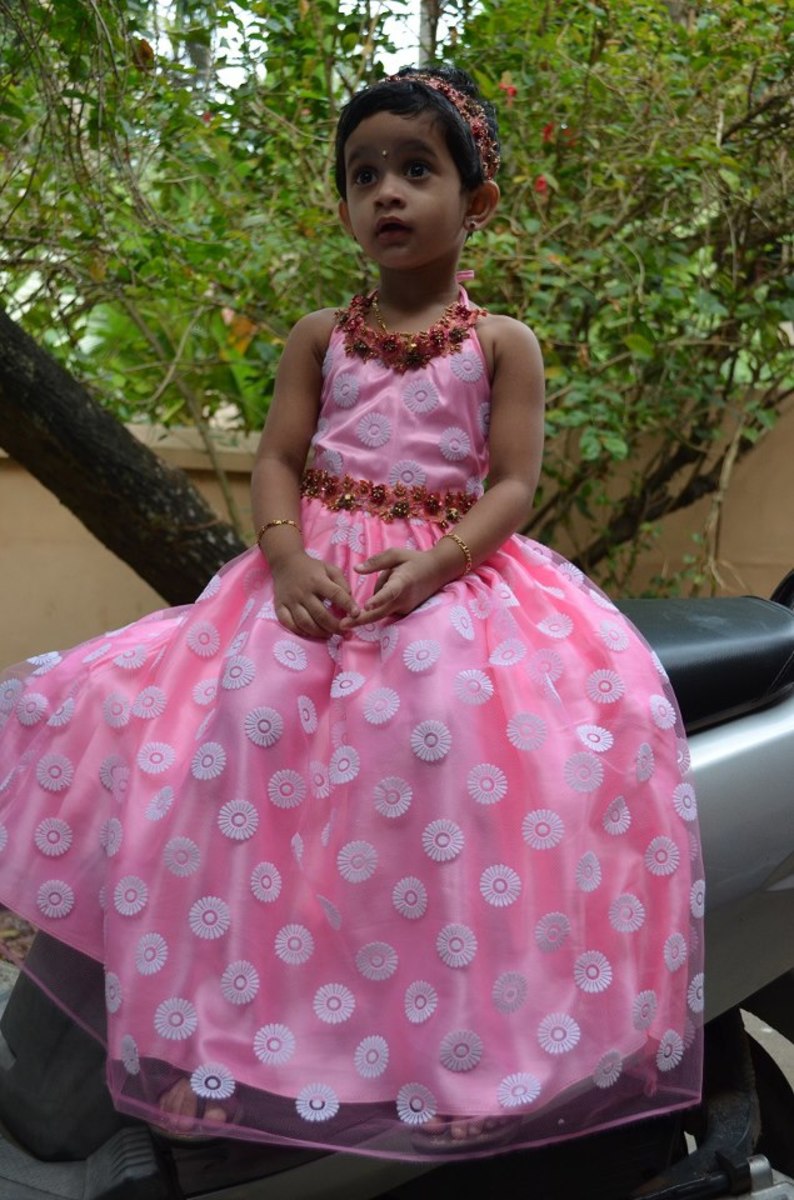
Anna in her Long Frock

Materials Needed
Anna, who was three at that time, didn't require much for her long frock. I bought:
- Pink net material with a white print -- 3.5 meters
- Pink satin material for the lining -- 1.5 meters
- Dark pink lace to decorate the frock and also to create the headband -- 1 meter
There was not a piece of material wasted, once the frock was completed.
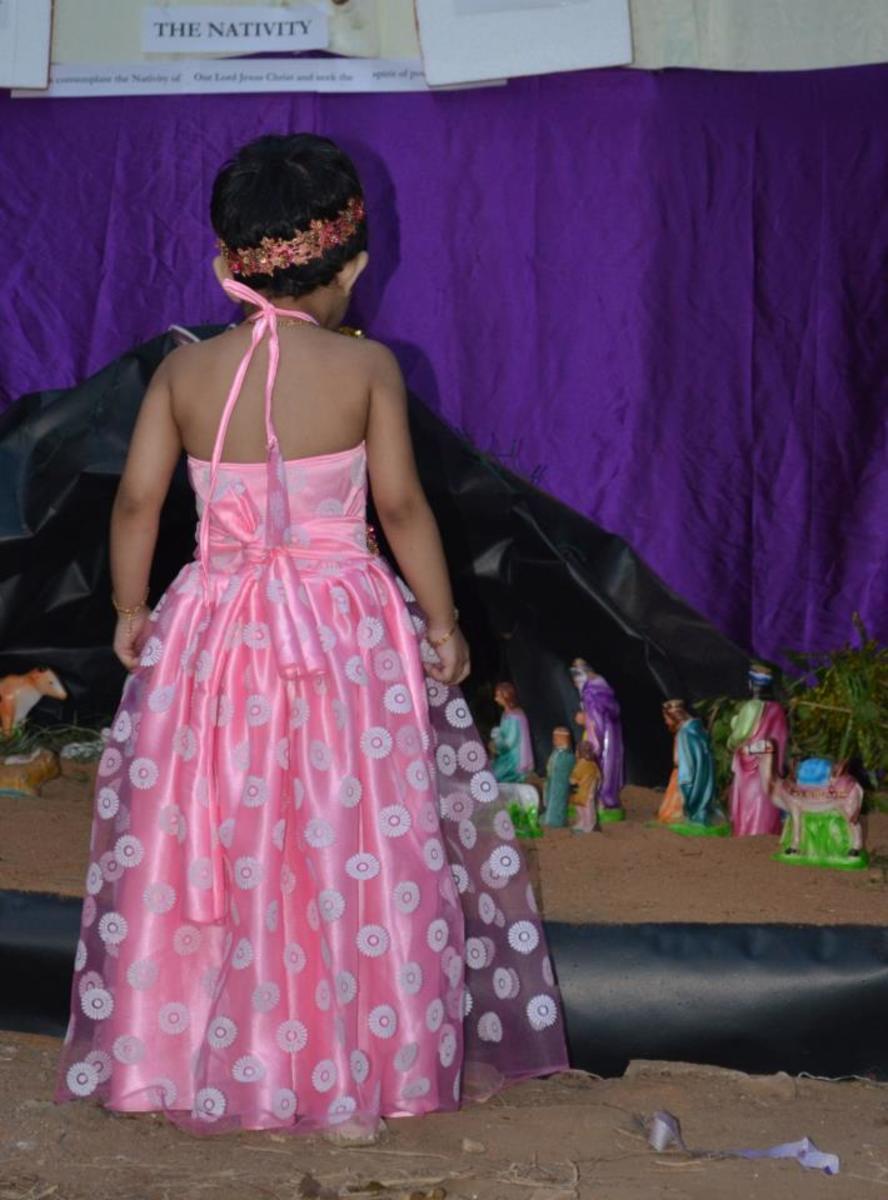
More Shots of Anna in Her Long Frock


Cutting the Pattern
For a hopefully better idea of how the pattern should be cut, please see the image sketches below. Please note however that these are not technical or professional explanations, just my personal ones.
For measuring, it is better to first use an already correctly fitted frock of your child.
- Place it along the net material, which should be folded into four as we do it for Churidars. Note: Be sure that you take a portion towards the end of the whole net material, so that there will be no waste.
- Now, cut the top portion and split the front and back ends. Cut the back portion along the middle so that it will be open on the back of the frock.
- Then, take just enough cloth for tying the frock and make an equal portion of the rest of the material to stitch the bottom portion.
- For the top, do take same measurement of lining material and leave the rest for the bottom. Also, make sure you cut enough cloth for tying the top to the neck.
Stitching the Frock
- Top: Join the lining with the front net material, with the good side of the net cloth inside. Then, revert the same. Likewise, do this for back portion also.
- Bottom: Now, stitch the bottom portion along with the lining to the top portion -- this is for both the front and back side. Stitch the cloth to tie the frock separately and join to the top, front portion and then stitch together the front and back portion.
- Neck: Then, stitch the cloth to tie the frock to the neck. Note: To create a special look, stitch the lace towards the neck and also to the waist of the frock. With rest of the lace, a head band also can be created.
Hope this Hub was informative -- do contact me if you have any further doubts or comments.
No comments:
Post a Comment